
인텔리킴의 Unity Studying & Game Analysis
7. 공 굴리기 게임 만들기 본문
플레이어 오브젝트 만들기
using System;
using System.Collections;
using System.Collections.Generic;
using UnityEngine;

public class MyBall : MonoBehaviour
{
    public int jumpPower = 50;
    Rigidbody rigid;

    void Start()
    {
        rigid = GetComponent<Rigidbody>();
    }
    void FixedUpdate()
    {
        float h = Input.GetAxisRaw("Horizontal");
        float v = Input.GetAxisRaw("Vertical");

        rigid.AddForce(new Vector3(h,0,v),ForceMode.Impulse);


        if(Input.GetButtonDown("Jump"))
        {
            rigid.AddForce(new Vector3(0, jumpPower, 0), ForceMode.Impulse);
        }
    }
}
위와 같은 코드로 기본적인 플레이어의 움직임을 구현
*수정이 용이하도록 Public 변수로 몇몇 변수를 변경
하지만 이상태에선 점프가 공중에서 여러번 하는 현상이 발생함
bool isJump;해결을 위해 이 bool 변수를 추가하고 이 변수를 false 상태로 초기화
        if(Input.GetButtonDown("Jump") && (isJump == false))
        {
            isJump = true;
            rigid.AddForce(new Vector3(0, jumpPower, 0), ForceMode.Impulse);
            Debug.Log("점프키 눌림");
        }
이후 연산자를 이용해 점프했을때 false 상태가 아니면 또 다시 점프를 못하게 함
하지만 이 상태에선 한번 점프를 하고 true로 상태가 변경되면 다시 false상태가 되지않아 점프가 불가능한
문제가 존재함
    void OnCollisionEnter(Collision collision)
    {
        if (collision.gameObject.name == "Floor")
        {
            Debug.Log("접촉중");
            isJump = false;
        }
    }
충돌연산자 함수를 이용해 바닥과 접촉하면 다시 false로 초기화되게함
using System;
using System.Collections;
using System.Collections.Generic;
using Unity.VisualScripting;
using UnityEngine;

public class MyBall : MonoBehaviour
{
    public int jumpPower = 50;
    Rigidbody rigid;
    bool isJump;
    void Start()
    {
        isJump = false;
        rigid = GetComponent<Rigidbody>();
    }
    void FixedUpdate()
    {
        float h = Input.GetAxisRaw("Horizontal");
        float v = Input.GetAxisRaw("Vertical");

        rigid.AddForce(new Vector3(h,0,v),ForceMode.Impulse);


        if(Input.GetButtonDown("Jump") && (isJump == false))
        {
            isJump = true;
            rigid.AddForce(new Vector3(0, jumpPower, 0), ForceMode.Impulse);
            Debug.Log("점프키 눌림");
        }
    }
    void OnCollisionEnter(Collision collision)
    {
        if (collision.gameObject.name == "Floor")
        {
            Debug.Log("접촉중");
            isJump = false;
        }
    }
}
최종적인 화면과 플레이어의 코드
아이템 오브젝트 제작
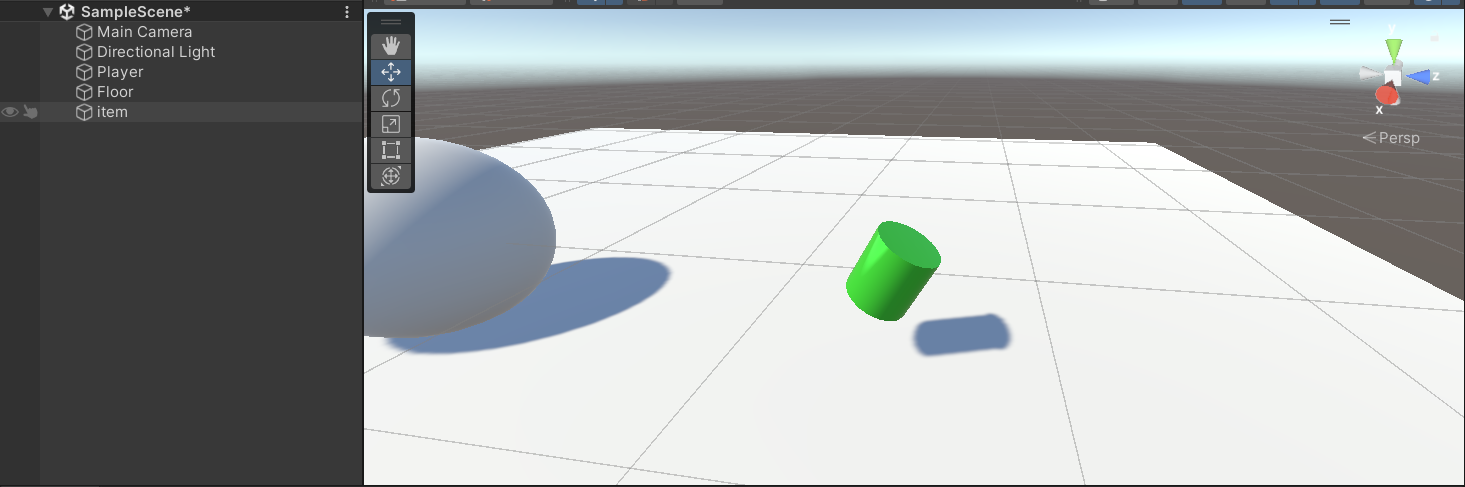
아이템 오브젝트 제작 후 아이템 회전 기능 스크립트를 통해 추가
using System.Collections;
using System.Collections.Generic;
using UnityEngine;

public class item : MonoBehaviour
{
    public float rotateSpeed = 3;
    void Start()
    {

    }

    void Update()
    {
        transform.Rotate(Vector3.up * rotateSpeed * Time.deltaTime);
    }
}
tranform.Rotate : 물체를 회전시킴
하지만 이 코드는 오브젝트의 로컬 좌표계를 기준으로하기 때문에 제대로된 회전이 되지않음
transform.Rotate(Vector3.up * rotateSpeed * Time.deltaTime, Space.World);
위와 같이 Space.World 구문을 추가함으로써 월드 좌표계를 기준으로 회전시킬 수 있음
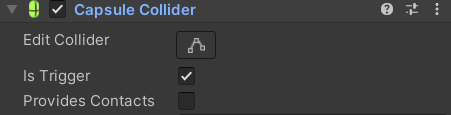
    void OnTriggerEnter(Collider other)
    {
        if(other.name == "Player")
        {
            gameObject.SetActive(false);
        }
    }
gameObject.SetActive(bool) : 스크립트가 적용된 오브젝트를 비활성화 하거나 활성화함
아이템을 획득하면 사라지게 만들기 위해 트리거 함수를 작성
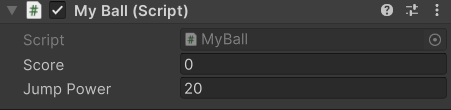
My Ball 스크립트에 Score 변수 추가
    void OnTriggerEnter(Collider other)
    {
        if(other.name == "Player")
        {
            MyBall player = other.GetComponent<MyBall>();
            player.score = player.score + 1;
            gameObject.SetActive(false);
        }
    }
이후 트리거 함수에 GetComponent<MyBall>() 을 이용해 다른 스크립트를 불러온 뒤
score 변수를 +1 해줌
아이템에 소리 넣기
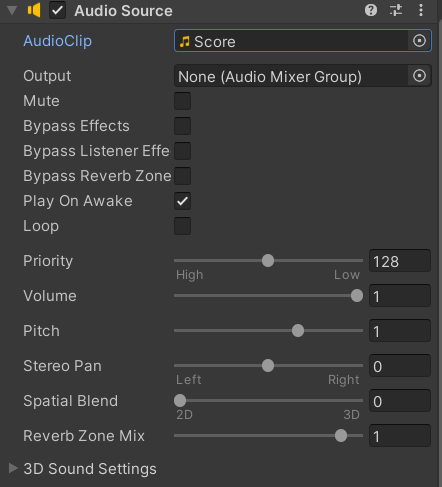
Audio Source 컴포넌트를 추가함
이떄 Play On Awake는 체크 해제 (체크 해놓으면 시작할 때 같이 재생됨
이후 Player 스크립트에
AudioSource audioSource;
audioSource = GetComponent<AudioSource>();
먼저 두 코드를 이용해 컴포넌트를 불러오고
audioSource.Play();이 코드를 점수 획득과 함께 삽입해 오디오를 재생함
*비활성화되는 구간에서는 컴포넌트 함수가 실행되지 않을 수 있음!!
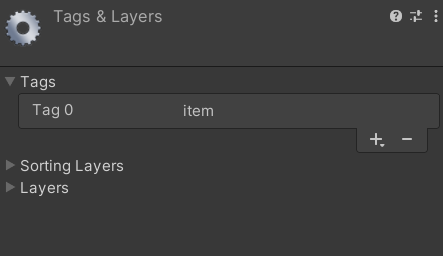

같은 종류의 아이템 오브젝트를 태그를 통해 같은 카테고리로 묶어 쉽게 아이템을 복사할 수 있음
        if (other.tag == "item")
        {
            score = score + 1;
            audioSource.Play();
            Debug.Log("점수 : " + score);
            other.gameObject.SetActive(false);
        }
위와 같이 오브젝트의 네임으로 되어있던 조건문을 태그로 바꿔서 다시 스크립트를 작성
같은 내용을 Floor에도 적용
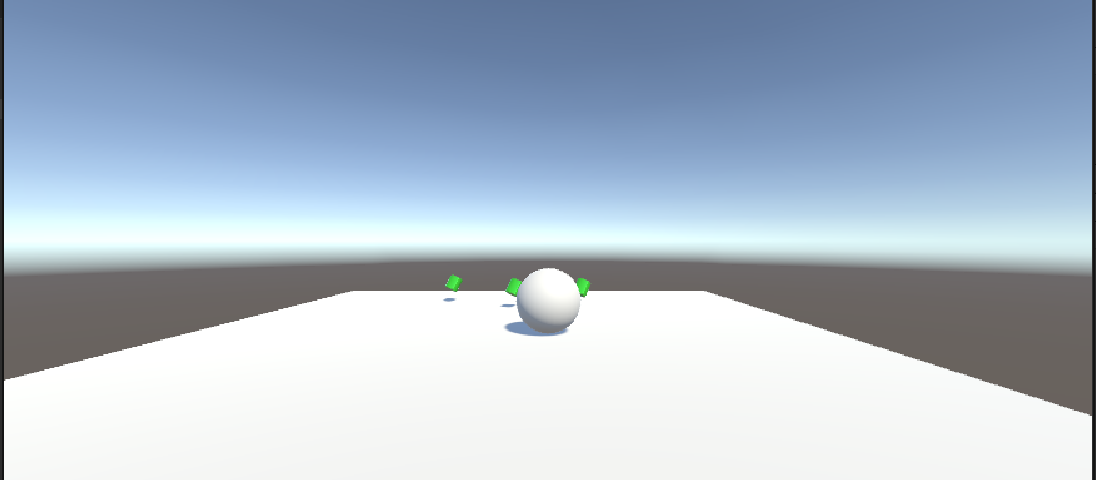
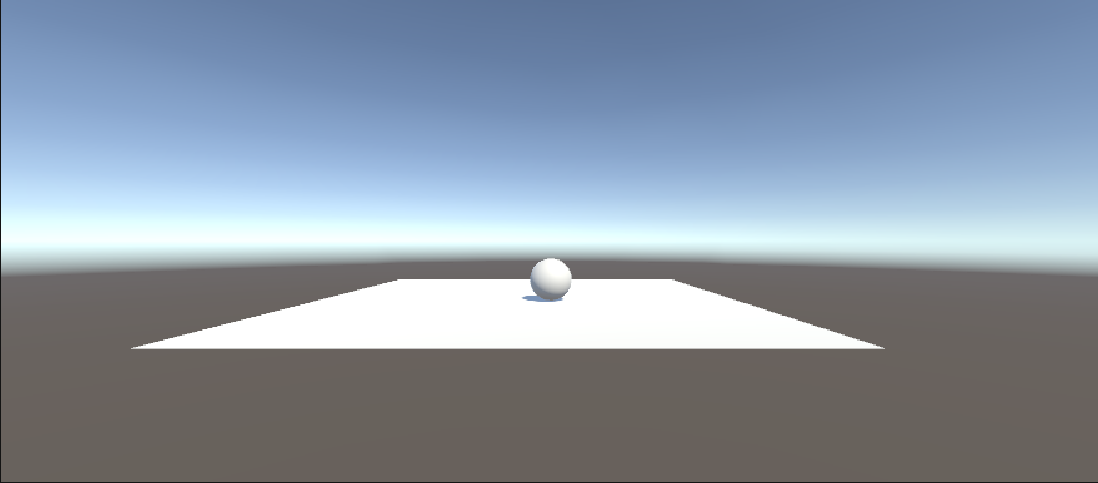
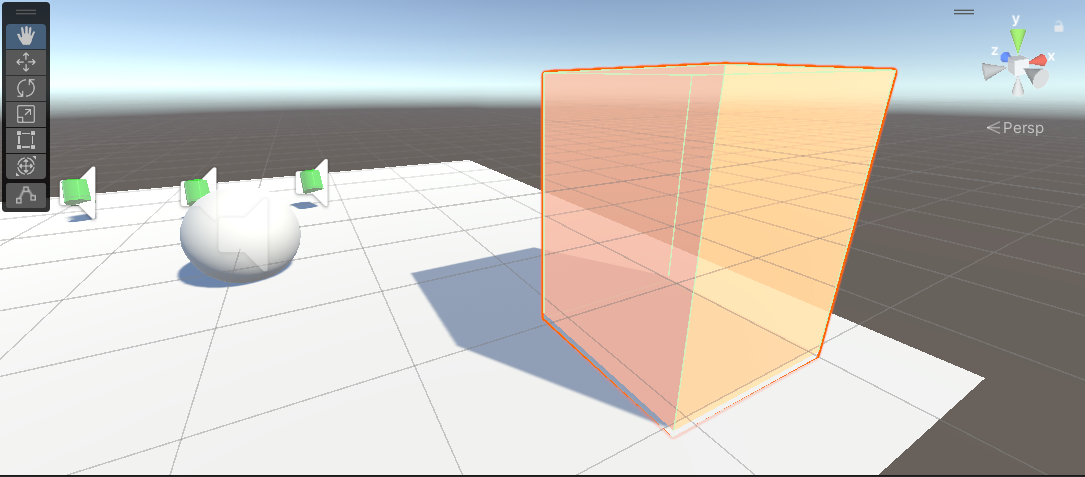
여기까지 결과물은 위 사진과 같음
카메라 설정
카메라가 플레이어의 공을 따라갈수 있도록 설정
카메라의 이동은 주로 LateUpdate 함수를 이용해 구현
GameObject.Find("이름") : 이름을 통해 Hierarchy 창의 오브젝트 검색
GameObject.FindGameObjectWithTag("이름") : 태그를 통해 Hierarchy 창의 오브젝트 검색
*Find 계열 함수는 CPU에 부하를 가져올 수 있으므로 피하는것을 권장
public class CameraMove : MonoBehaviour
{
    Transform playerTransform;
    Vector3 offset;
    void Awake()
    {
        playerTransform = GameObject.FindGameObjectWithTag("Player").transform;
        offset = transform.position - playerTransform.position;
    }

    void LateUpdate()
    {
        transform.position =  playerTransform.position + offset;
    }
}
플레이어의 포지션 값을 카메라 값에 그대로 적용하면 1인칭이 되어버리기 때문에
offset을 이용해 카메라의 포지션 값 - 플레이어의 포지션 값을 해준뒤
카메라의 포지션 값에 offset 값과 플레이어의 포지션값을 더해줌
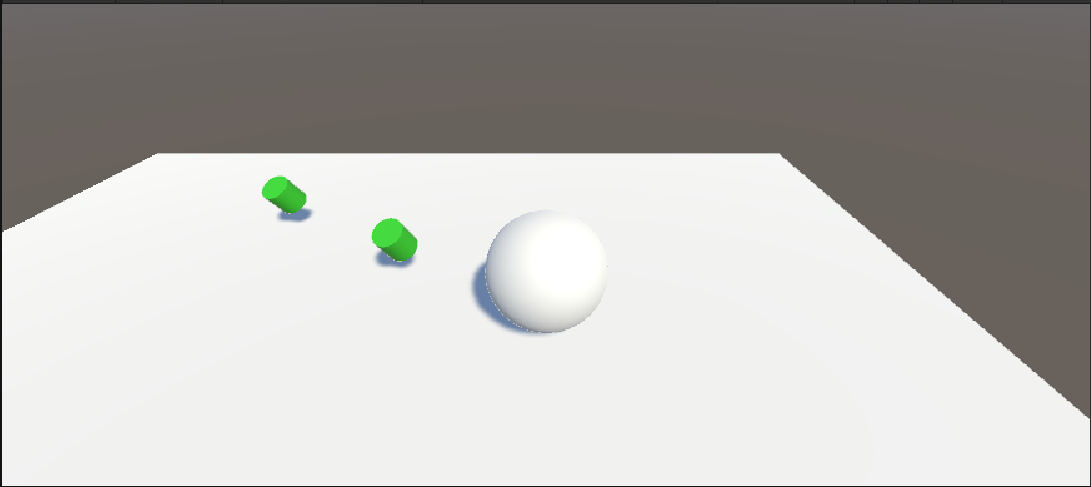
그럼 다음과 같이 플레이어의 카메라가 고정됨
클리어 포인트 제작
일단 먼저 클리어 포인트 용도로 사용할 오브젝트 생성

GameManger라는 형태가 없는 오브젝트 생성
주용도 : 형태는 없고 전반적인 로직만 가지고 있음(주로 게임의 구성요소를 관리하는데 사용)
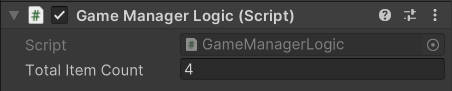
이후 GameManager에 적용할 스크립트를 생성 후 총 아이템 갯수를 public 변수로 지정
public GameManagerLogic manager;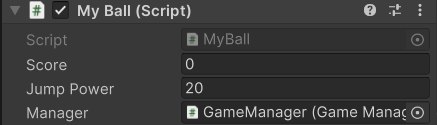
이후 public 변수를 통해 GameManager 오브젝트 할당
장면 이동
using UnityEngine.SceneManagement
제일 먼저 씬 이동을 담당할 스크립트에 UnityEngine.SceneManagement 클래스를 추가
SceneManager.LoadScene("Stage1");
SceneManager.LoadScene() : 씬을 불러오는 함수
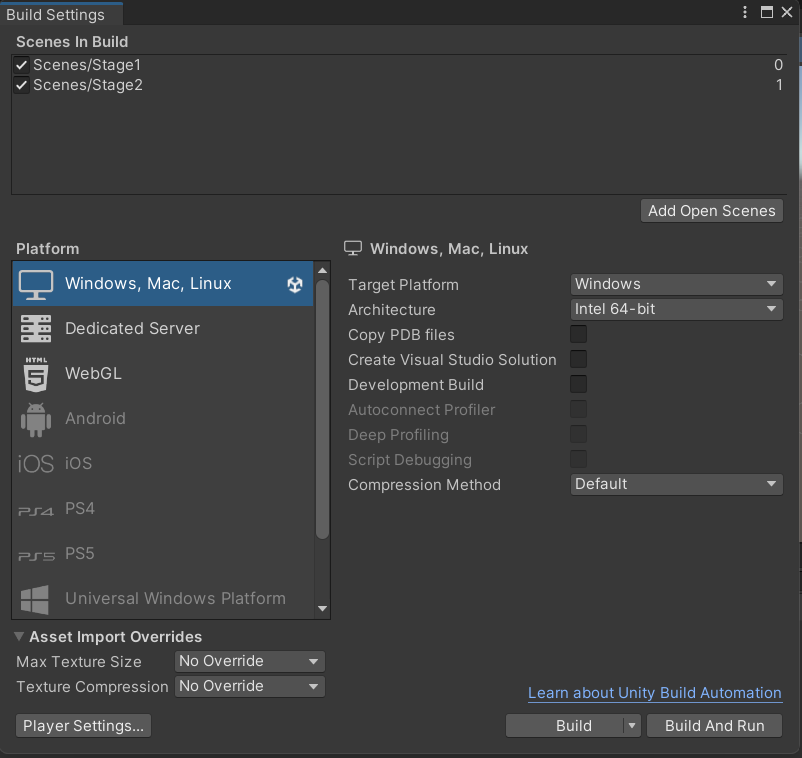
씬을 불러오기 위해선 Build Settings에서 씬을 추가해야함
SceneManager.LoadScene("Stage" + (manager.stage + 1).ToString());
*int 변수를 String에 합치기 위해선 .ToString() 사용해야함
추락시 게임오버 구현
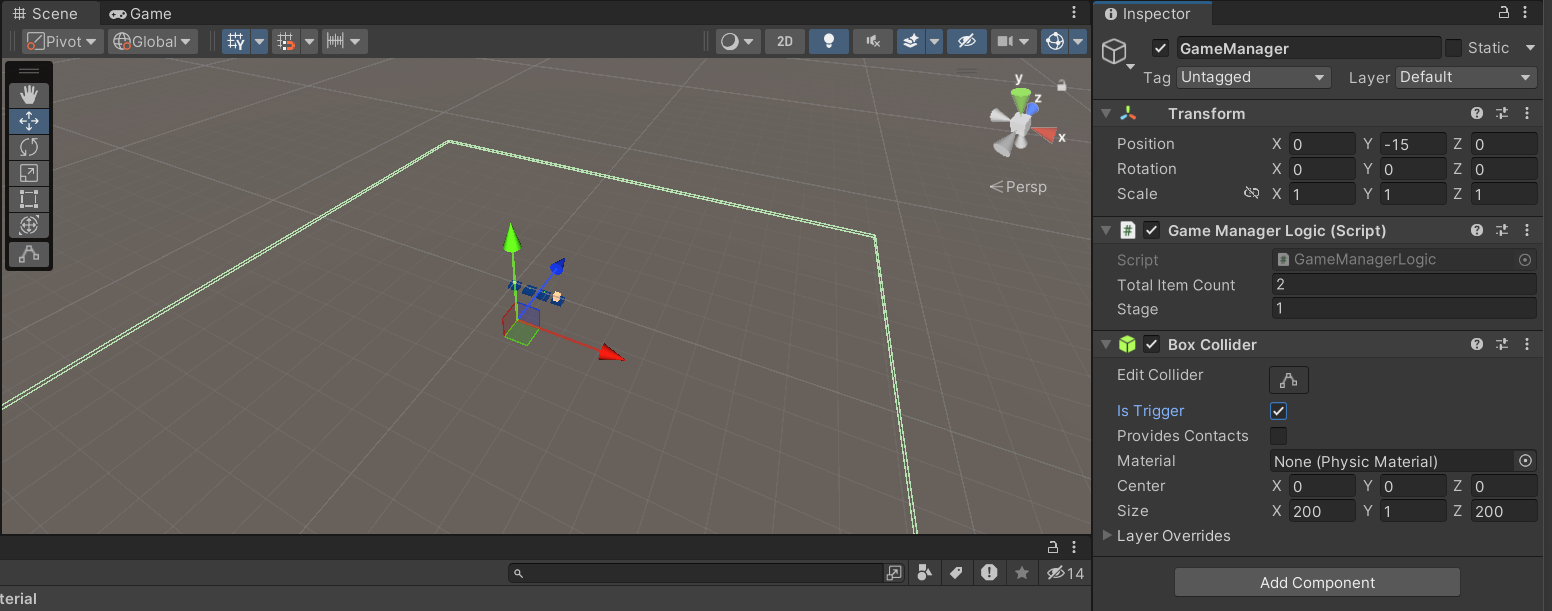
GameManager에 박스콜라이더를 큰 크기로 추가하고 게임오버가 되는 높이로 이동
using System.Collections;
using System.Collections.Generic;
using UnityEngine;
using UnityEngine.SceneManagement;

public class GameManagerLogic : MonoBehaviour
{
    public int totalItemCount;
    public int stage;

    void OnTriggerEnter(Collider other)
    {
        if(other.gameObject.tag == "Player")
        {
            SceneManager.LoadScene(stage);
        }
    }
}
GameManager에 자신과 접촉하면 Trigger가 활성화되도록
OnTriggerEnter 함수 작성 후 삽입
게임 UI 작성
using UnityEngine.UI;
*UI 작성을 위해선 UnityEngine.UI 클래스 삽입 필수
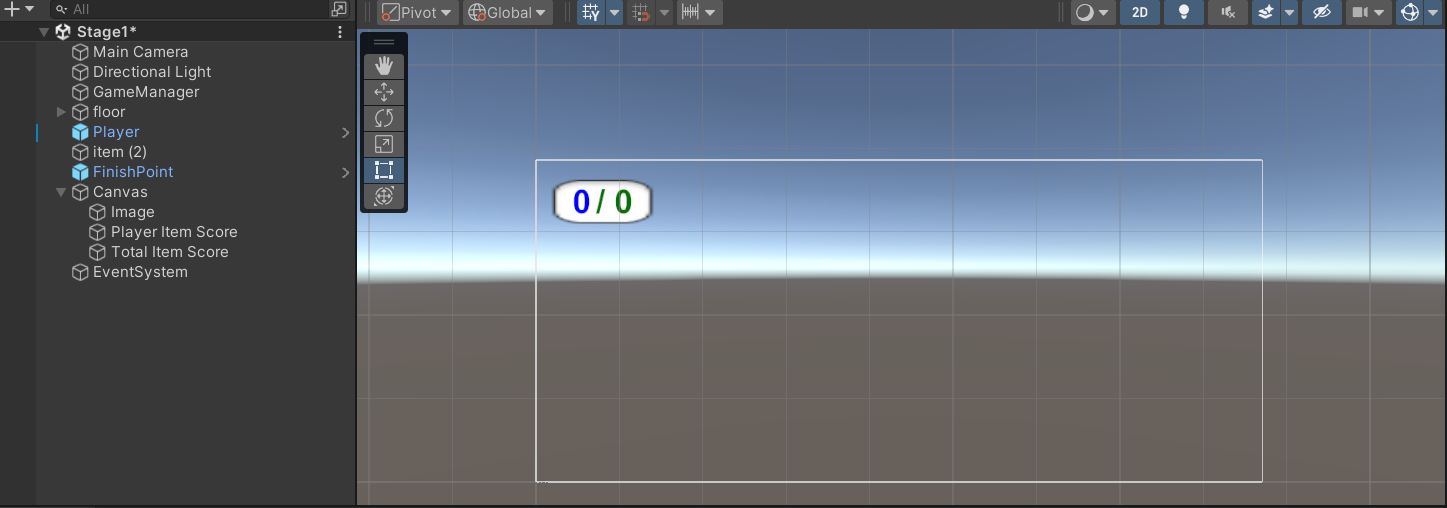
캔버스에 텍스트와 이미지 삽입
    public Text stageCountText;
    public Text playerCountText;
Text 오브젝트를 적용할 수 있는 변수 생성
    public void addCount(int count)
    {
        playerCountText.text = count.ToString();
    }
다른 스크립트에서 적용할 수 있는 public 함수를 작성해
text에 스코어 값이 삽입될 수 있도록 함
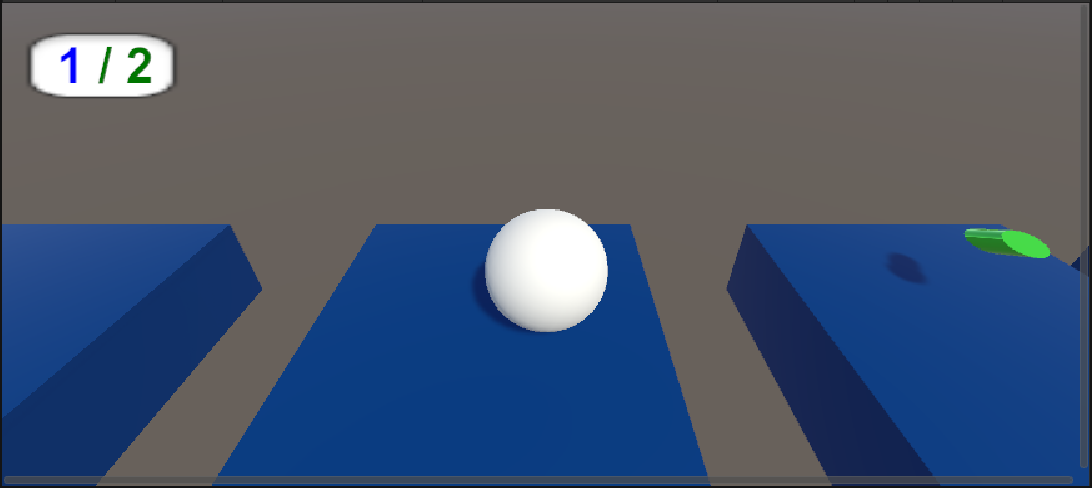
최종적으로 UI가 적용된 것을 확인할 수 있음
정리
1. public 변수 : 유니티 인스펙터 창 내에서 변경가능한 변수
2. tranform.Rotate에 Space.World 구문을 추가함으로써 월드 좌표계를 기준으로 회전시킬 수 있음
3. gameObject.SetActive(bool) : 스크립트가 적용된 오브젝트를 비활성화 하거나 활성화함
4. 태그를 통해 같은 카테고리로 묶어 쉽게 오브젝트를 복사할 수 있음
5.카메라의 이동은 주로 LateUpdate 함수를 이용해 구현
6.offset을 이용해 카메라의 포지션 값 - 플레이어의 포지션, 카메라의 포지션 값에 offset 값과 플레이어의 포지션값을 더하면 플레이어를 따라오는 카메라 가능
7. 장면 이동은 UnityEngine.SceneManagement 클래스를 이용함
8. SceneManager.LoadScene("스테이지 이름") : 씬을 불러오는 함수
9. int 변수를 String에 합치기 위해선 .ToString() 사용해야함
10. UI 작성을 위해선 UnityEngine.UI 클래스 삽입 필수
'게임 개발 일지 > 유니티 엔진 공부' 카테고리의 다른 글
| 9. 유니티 2D 게임 제작-애니메이션 (0) | 2024.04.19 |
|---|---|
| 8. 유니티 2D 게임 제작-프로젝트 준비 (0) | 2024.04.19 |
| 6. 게임 UI 제작하기 (1) | 2024.04.19 |
| 5. 힘을 이용해 물체 움직이기, 물리 충돌 (0) | 2024.04.19 |
| 4. 오브젝트에 물리효과 및 텍스쳐 적용하기 (0) | 2024.04.19 |


