5. 힘을 이용해 물체 움직이기, 물리 충돌
1) 힘을 이용해 물체 이동시키기
using System.Collections;
using System.Collections.Generic;
using UnityEngine;

public class MyBall : MonoBehaviour
{
    Rigidbody rigid;
    void Start()
    {
        rigid = GetComponent<Rigidbody>();
        rigid.velocity = Vector3.right;
    }

    void Update()
    {

    }
}
변수이름 = GetComponent<컴포넌트>(); 를 이용해 컴포넌트 안의 내용물을 변수에 적용할 수 있음
변수.velocity를 통해 물체에 속도를 줄수 있음 (속도는 3차원 백터로 주어짐)
*3D 컴포넌트에 2D 컴포넌트를 넣거나 그 반대를 하면 오류 발생
using System.Collections;
using System.Collections.Generic;
using UnityEngine;

public class MyBall : MonoBehaviour
{
    Rigidbody rigid;
    void Start()
    {
        rigid = GetComponent<Rigidbody>();
    }

    void Update()
    {
        rigid.velocity = new Vector3(2,4,-1);
    }
}
위와 같이 Update에 속도를 적용하면 같은 속도가 계속해서 유지됨
#되도록이면 Rigidbody 관련 코드는 FixedUpdate()에 적용하길 권장함
using System.Collections;
using System.Collections.Generic;
using UnityEngine;

public class MyBall : MonoBehaviour
{
    Rigidbody rigid;
    void Start()
    {
        rigid = GetComponent<Rigidbody>();
        rigid.AddForce(Vector3.up * 50, ForceMode.Impulse);
    }

    void Update()
    {

    }
}
변수.AddForce(Vector3, ForceMode.방식)에 의해 물체를 특정 부분으로 힘을 줌
ForceMode는 힘을 주는 방식을 뜻함
using System.Collections;
using System.Collections.Generic;
using UnityEngine;

public class MyBall : MonoBehaviour
{
    Rigidbody rigid;
    void Start()
    {
        rigid = GetComponent<Rigidbody>();

    }

    void Update()
    {
        if(Input.GetButtonDown("Jump"))
        {
            rigid.AddForce(Vector3.up * 50, ForceMode.Impulse);
            Debug.Log(rigid.velocity);
        }
    }
}
위와 같이 간단한 코드로 jump 기능 구현 가능
대신 위와 같은 코드를 작성하면 공중에서 여러번 점프 버튼을 누르는 것이 가능해짐
using System.Collections;
using System.Collections.Generic;
using UnityEngine;

public class MyBall : MonoBehaviour
{
    Rigidbody rigid;
    void Start()
    {
        rigid = GetComponent<Rigidbody>();

    }

    void Update()
    {
        if(Input.GetButtonDown("Jump"))
        {
            rigid.AddForce(Vector3.up * 50, ForceMode.Impulse);
            Debug.Log(rigid.velocity);
        }

        Vector3 vec = new Vector3(Input.GetAxisRaw("Horizontal"), 0, Input.GetAxisRaw("Vertical"));
        rigid.AddForce(vec, ForceMode.Impulse);
    }
}
위와 같이 오브젝트에 힘을 주는 방식으로 물체를 이동시킬 수 있음
using System.Collections;
using System.Collections.Generic;
using UnityEngine;

public class MyBall : MonoBehaviour
{
    Rigidbody rigid;
    void Start()
    {
        rigid = GetComponent<Rigidbody>();

    }

    void Update()
    {
        if(Input.GetButtonDown("Jump"))
        {
            rigid.AddForce(Vector3.up * 50, ForceMode.Impulse);
            Debug.Log(rigid.velocity);
        }

        Vector3 vec = new Vector3(Input.GetAxisRaw("Horizontal"), 0, Input.GetAxisRaw("Vertical"));
        rigid.AddTorque(vec, ForceMode.Impulse);
    }
}
변수.AddTorque(벡터, ForceMode) 를 통해 물체에 회전력을 주어서 이동시키는 것 또한 가능함
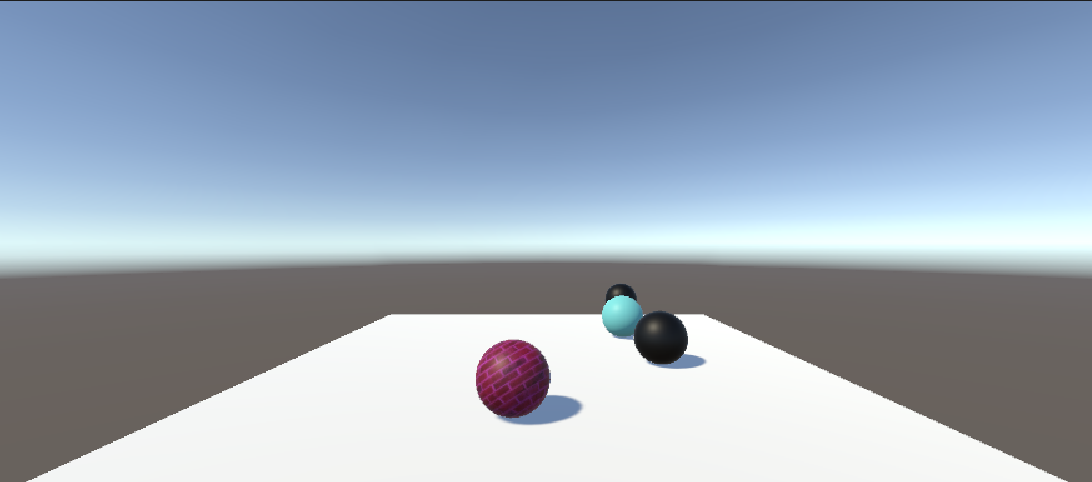
2. 물리 충돌 이벤트
using System.Collections;
using System.Collections.Generic;
using UnityEngine;

public class OtherBall : MonoBehaviour
{
    MeshRenderer mesh;
    Material mat;
    // Start is called before the first frame update
    void Start()
    {
        mesh = GetComponent<MeshRenderer>();
        mat = mesh.material;
    }

    void OnCollisionEnter(Collision collision)
    {
        mat.color = new Color(0,0,0);
    }
}
MeshRenderer 를 통해 머테리얼을 불러옴
OnCollisionEnter(Collision collision) : 충돌 시작
OnCollisionStay(Collision collision) : 충돌 중
OnCollisionExit(Collision collision) : 충돌 끝났을때
Color <- 기본 색상 클래스 Color32 <- 255개의 색상 클래스
하지만 이대로 시작하면 바닥 오브젝트와 맡닿는 순간 색상이 변경됨
Collision : 충돌 정보 클래스
using System.Collections;
using System.Collections.Generic;
using UnityEngine;

public class OtherBall : MonoBehaviour
{
    MeshRenderer mesh;
    Material mat;
    // Start is called before the first frame update
    void Start()
    {
        mesh = GetComponent<MeshRenderer>();
        mat = mesh.material;
    }

    void OnCollisionEnter(Collision collision)
    {
        if (collision.gameObject.name == "My ball")
        {
            mat.color = new Color(0, 0, 0);
        }
    }
}
위와 같이 if 문을 통해 "My ball" 이라는 이름을 가진 오브젝트에만 충돌이 반응해서 색상이 변경되도록 할 수 있음
    void OnCollisionExit(Collision collision)
    {
        if (collision.gameObject.name == "My ball")
        {
            mat.color = new Color(1, 0, 0);
        }
    }
위 코드로 충돌이 끝나는 순간 빨간색으로 색상을 변경할 수도 있음
3) 트리거 이벤트
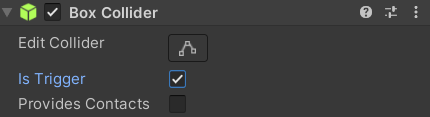
Is Trigger 체크
using System.Collections;
using System.Collections.Generic;
using UnityEngine;

public class MyBall : MonoBehaviour
{
    Rigidbody rigid;
    void Start()
    {
        rigid = GetComponent<Rigidbody>();

    }

    void FixedUpdate()
    {
        if(Input.GetButtonDown("Jump"))
        {
            rigid.AddForce(Vector3.up * 50, ForceMode.Impulse);
            Debug.Log(rigid.velocity);
        }

        Vector3 vec = new Vector3(Input.GetAxisRaw("Horizontal"), 0, Input.GetAxisRaw("Vertical"));
        rigid.AddForce(vec, ForceMode.Impulse);
    }

    private void OnTriggerStay(Collider other)
    {
        if(other.name == "Cube")
            rigid.AddForce(Vector3.up * 2, ForceMode.Impulse);
    }
}
위와 같은 코드로 Cube라는 오브젝트에 접촉했을때 y축 방향으로 힘을 가해줄 수 있음
OnTriggerEnter(Collider other) { } : 트리거 시작했을때
OnTriggerStay(Collider other) { } : 트리거 발동 도중
OnTriggerExit(Collider other) { } : 트리거 끝났을때
요약 :
* 실제 물리적인 충돌이 발생했을 때의 이벤트
OnCollisionEnter(Collision collision) : 충돌 시작
OnCollisionStay(Collision collision) : 충돌 중
OnCollisionExit(Collision collision) : 충돌 끝났을때
* 콜라이더 충돌이 발생했을 때의 이벤트
OnTriggerEnter(Collider other) { } : 트리거 시작했을때
OnTriggerStay(Collider other) { } : 트리거 발동 도중
OnTriggerExit(Collider other) { } : 트리거 끝났을때